Techniques
This page shows and describes some of the methods used to make the chairs. Some of the pictures shown below are taken from the ladderback courses.
Timber
I use the best quality timber that I can obtain. It is mainly seasoned and, for the Cotswold 'stick' chairs, it can either be air or kiln dried.
For courses, when most of the chairs are mainly ladderbacks, then I use air dried Ash as we need to bend the back legs and slats.
Cotswold 'stick' Chairs
Seat
This is the most time consuming part of this particular style of chair. I try and plane the Elm (it could be Ash or Sweet Chestnut) as flat as possible so that marking out and drilling are given the opportunity to be accurate. The blank is sawn on the bandsaw before drilling all holes. The next stage is to hollow/shape the seat using specially modified wooden planes, travishers, spokeshaves, cabinet scraper and abrasives. To achieve the quality that I want, this stage can take between one and two days!
Underframe
The legs and stretchers are rounded using Rotary Planes and then tapered using a 'Trapping Plane'. Drilling holes at various angles on the underframe has to carried out carefully and without distractions.
Back 'Sticks'
These are the pieces that give this particular chair its name. They are produced from the straightest grained Ash that I can find - any wavy grain could weaken the design/back of the chair. I again use the rotary planes and the trapping plane to produce subtle tapers on all sticks. Each piece has to be finished to a high standard using abrasives.
Arms
I try and use timber that has a curve in the grain for maximum strength. They are bandsawn to shape from Elm (or Ash) before I use a spokeshave and a machine sander to achieve the shape. The holes are very carefully marked and drilled at this stage before finishing by hand. This design of arm is quite time consuming to make/finish to a high standard.
Ladderback Chairs
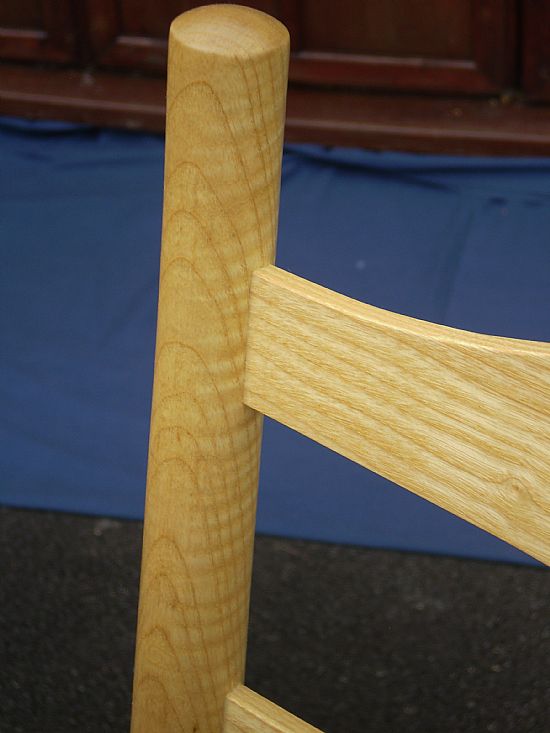
We start by preparing the timber that has to be steam bent i.e. the slats and back legs. The legs are prepared by using the rotary planes, with the turning head, to a diameter of 1-3/8ths in. Experienced students can gently taper the top half of the leg at this stage by using the trapping plane. The top will need a slight dome (Shaker chairs will have a finial) and finally the bottom four inches will also need a short taper. These subtle tapers make a significant difference to the look of a ladderback chair.
Slats are prepared slightly overlength and steamed for approximately 20 minutes. Legs are steamed for 1 hour 20 minutes.
Back Frame
Whenever we can we work on the back frame of the chair. Legs have to be rounded, tapered and bent and then left in their clamps for as long as possible. Same for the slats which are generally shaped after steaming. In the meantime, the seat rail and either one or two bottom rails are prepared and finished.
Front Frame
Whilst we are waiting, the front frame can be constructed. The legs are turned and tapered and marked out for drilling. We generally drill just over half way through the leg (3/4in deep) Depending on the type of seat the student wishes to weave, an appropiate seat rail is made. Each type requires a different seat rail. The two rails below this rail are shaped, sanded and a finish applied. Because their is no steaming for this frame we can glue it together at this stage.
Back Frame Assembly
Eventually we have to take the back legs out of the clamps and mark out and drill the holes for the rails. We can assemble the legs with these rails and then spend some time carefully working out the spacing and shape of the slats. The slats are shaped before marking out the position of the mortices.
These mortices are routed slightly undersize (usually by phil) before we chisel the ends of each mortice square. We can then plane/spokeshave the slats to make a nice tight fit. Again a 'finish' is applied before final assembly.
Final Chair Assembly
We now have two frames that need joining together. Holes for the side rails must now be marked out and drilled at an angle in both frames and the arms finally shaped and cut to length.
Photographs showing various processes